25 May 2011

working as a large group

Working in a large group containing half of the class was no easy task. Certain people within the group assigned themselves to take control and this was not always the best thing as no unanimous decision was made to have a 'leader' type person making all the decisions as far as I was aware. As a result of this everyone’s opinions and ideas could not be listened to and were sometimes disregarded as with my colour scheme idea.

I sometimes got the impression that when taking control of everyone and what they were supposed to be doing on the set the person delegating wasn't actually contributing to the workload as much as perhaps they could if we all just got on with it. I think more group meetings in the initial designing stages were needed. I missed two meetings because i simply did not know about it; a lack of communication within the group at the start didn't help. Time was a major factor in this project and I knew it was not going to be an easy task in the short time frame given. I believe that if we had had more time we could have addressed EVERYBODYS ideas and let everyone be heard, which when so many creative minds are able to contribute to this type of project- should happen.

I felt that i didn't learn a great deal from Henry Jones that i couldn't of learnt from a manual entitled 'set design for dummies'.

The negative atmosphere which seemed to linger whenever Henry was in the room really didn't help the creative process or the deadline we were working too.

I found him rude and a little offensive at times and any criticisms to be anything but constructive. I know crossed words had been said between him and other students.

I found it a real shame because of everything we had to do in this project i was really looking forward to working with someone in the business and learning a lot of techniques and tricks of the trade. I was so disappointed when I realised that Henry was not going to be a positive influence on the group as a whole.

Windows


Karen designed the windows. First of all a basic frame was put into all 3 of the holes left for them.

Once she had added the rest of the wood to make them look like art nouveau design. She then painted them with a black base coat taking care not to get it on the wallpaper.

Once that had been done I then painted a layer of dark brown on the black with scenic paint. On top of this an orange brown colour went on over the top. Quite a thin watery coat was applied.
Then another layer of dark brown was coated on with quite a dry brush so that the other colour showed through and gave the impression of grain. Karen mentioned to me that she would sand them down a little and varnish them.


Skirting boards

The skirting boards where measured and labelled according to a floor plan of the rooms. I helped to fix them to the walls of the set. Using a hammer and nails. They overlapped at the corners and hid the wallpaper that didn't quite reach the bottom of the flats. Some of the pieces didn't quite fit and needed to be taken back to the work shop to be sanded down a little before being pinned in place. The nails where quite small that we used but they seemed to hold them in place just fine.
Adam and Hannah measured tem and cut themt o size and Adam fixed the ones in Gregors room as it was quite small. Hannah Sarah and myself started the living room skirting but didn't finish because the floor was still being painted and we didnt want to fix it in place where it hadnt been painted yet.

Roof and floor


The ceiling was comprised of Plywood and 'beam' type planks of wood which stretched across the room and the plywood screwed into it and the set flats.

The transformation was incredible. By cutting out the light it really brought the walls and the atmosphere to life.

Once the two doors were attached it got a lot darker inside the room. It also changed the feeling of the living room to one that was quite claustrophobic and restricted. Once the furniture is in it will feel even more so.

The floor in the bedroom was painted by Ben. Using scenic paint and masking tape to mark out a floorboard effect. The look is subtle and very dark, it helps to suck the light out of the room very well.

In the Living room a dark wood floor was painted in the same way and waxed afterwards. In the centre a carpet is laid with a green trim to make it look like a rug.
The colour of the carpet is great even though it is a little bit too dirty, maybe it needs a hoover! In the original design stage i put forward an idea from my mood board that the rooms should be complimentary in colour to each other. Gregor's room mostly greens and browns as he is a bug and in the living room warmer peaches and pinks. This would signify the relationship between Gregor and his parents. The opposite colour scheme shows the rift that has come between them. I really liked this idea and stressed it but somewhere along the way it got lost. Working in such a large group having lots of different opinions on different aspects of the room wasn't easy. The decision was made to give each person an element of the rooms to design and make. This is obviously the best way but it meant that ideas got lost and things may clash.


24 May 2011

more walls, fireplace and lights


Here the other room was having a treatment applied. A faint watery brown paint effect was put on the walls to make the wallpaper seem old and aged. As it was it was too new.
Work was continuing in the other room as Ben was in charge of the floors.


French polish was applied to the metal on the light fitting and on the metal handles on Sarahs desk. This creates an aged look to it and stops it looking brand new.

Emily designed and made the fireplace. The whole thing is made from MDF.
The next and final stage after the ripping fo the paper was paint and paper towels in PVA/water solution. Paper towels were introduced in the gaps to give the illusion of gunk/mould seeping out from the walls itself. The paint adds to the dirt of the Walls and the illusion of a bug crawling and secreting over them.
The window at the bottom was at an angle to the floor. Henry pointed out that this looked 'comical' and not really in keeping with the rest of the room. I am not sure what the overall opinion was but when i talked to other people in the group not much was said in a negative way towards the angled window. However it was changed and I do think it looks fine.

The door was painted to look like dark wood- a theme throughout both rooms as this was deemed the correct colour of the period.
The door in Gregors room was cut into to achieve the look of it being scraped away at by the bug.

Wall effects

Once the wallpaper had been applied over the paint in Gregors room we could then get on with tearing the wallpaper to reveal the paint effect underneath.
I personally thought that the tearing went a bit too far when considering the text we had to work with. But I think maybe over exaggerating the wall effect helps to create the mood. My thoughts on the walls in this room where that perhaps there should have been more of a narrative to them. In the text bug/Gregor crawled on the walls and ceiling leaving trails and had a patch where he liked to sit. I always imagined the walls to have dirt and areas where the wallpaper was still intact. Perhaps making more of a statement of the ceiling and a corner where he sat. Also on the floor under the couch where he stayed a long time.

Mr Samsa Chair make 3


When covering the main body of the chair there were some buttons in the upholstery. I removed them and covered them in the same material as the chair. I kept the thread which was used and once the back of the chair had been covered i put them back in using an embroidery needle.


23 May 2011

Mr Samsa Chair make 2

Here I have taken a pitcure of the bottom of the flap of material i covered on the chair. It attached to a bar of wood with a popper. I have cut a hole in the material to free the popper up so that it will go back in place.


To cover the arm pads I took a piece of material that covered the entire pad. Luckily there was a gap to which i could slide the material into on either side ensuring a neat finish. Then i simply folded the length of the arm in on itself and glued it in place. To finish the corners I neatly folded them in on themselves and glued them. It was tricky but I managed fine!

22 May 2011

Mr Samsa Chair make


This was the chair before I did anything to it. It wasnt the ideal type of chair that i wanted but i think in the time frame we had it had to do. It has an already worn look to it so i dont have to touch the wood- the wood is also dark and in keeping with the rest of the wood in the living room.
Once covered it will be a lot better.


The cushion on the seat was covered in exactly the same way as the foam was for Mrs Samsa's chair, making sure to keep it as tight as possible so the material wasnt too loose.

The trickiest part of the covering was the arms and this part. A strip of material on the base of the chair. I covered it by cutting a strip of material to size, sticking down one edge and then sticking it straight onto the chair


The picture above is the fabric folded back on itself so i could stick the material to the back. I then folded it back down.

The raw edge at the top was okay because it would be hidden by the cushion which is to sit on top

Ageing process

This is difficult to achieve as a certain look has to be done. The chair has to look worn but well looked after. It is old and well used but at the same time. Less is more so here goes.
Using a coffee solution i used a paintbrush to apply it to the fabric. Staining it will make it look old and used, also leaving a lighter patch in the middle where it would have been worn down by the sitter.
I painted it on the edges and sides and also on the back.
I used coarse sandpaper to wear down the chair seat. I also used a stanley knife to cut small threads out of the fabric on the seat and around the edge of the seat to make it look like it had seen some wear and tear.
I also found some metal brushes which i used to work away at the material.

skirting 2

Taking another long piece and sticking a neat edge i could then wrap the whole thing around the seat base and staple into place.
From the back this is what the two pieces of material look like where they meet.


Adding the Skirting.

To start with i added the back panel by cutting a piece of material to size and sticking one end over so that it has a neat edge. Taking this piece i then attached it to the back of the seat.
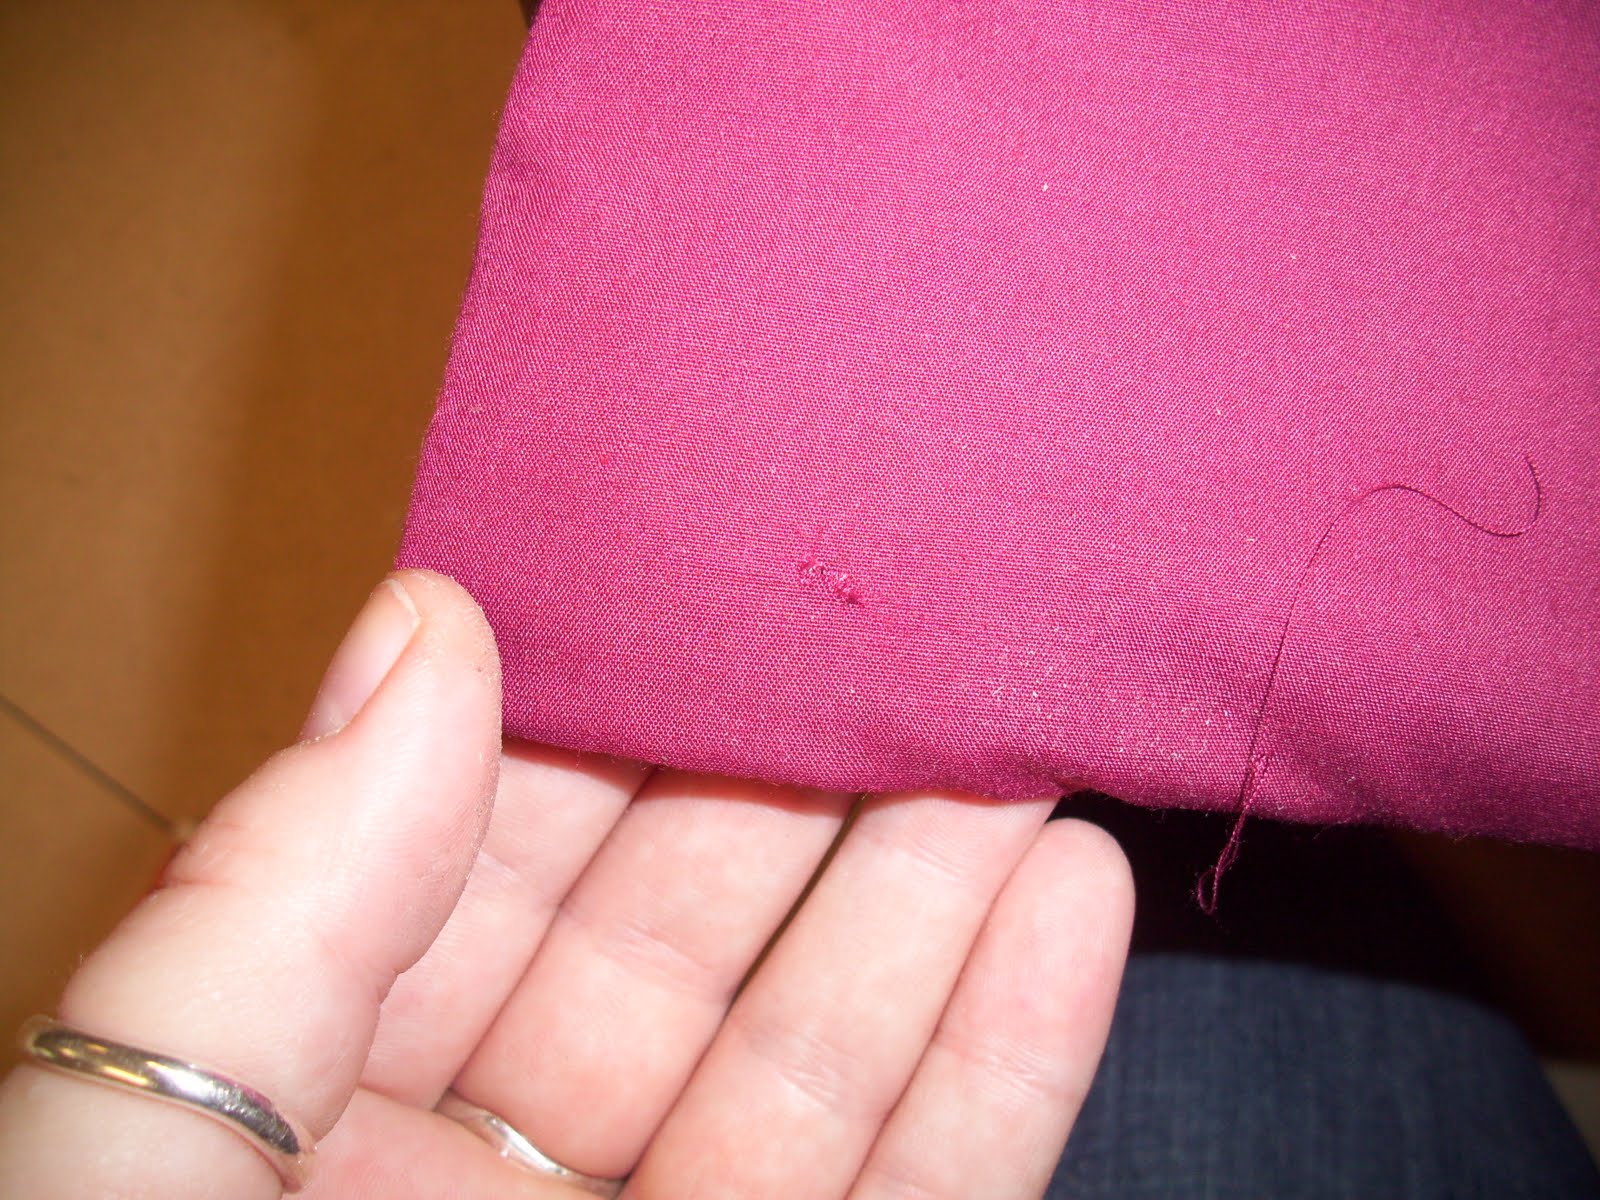
Using a staple gun and turning the chair on its side i stapled the material to the MDF.
Now i could work on the other three sides using one long stripe and not showing any joins at the edges.

17 May 2011

Adding foam and upholstery 3


In the first picture I am adding material to the frame. Starting with the back of the chair and stapling it to the plywood.

Next the cushion seat needs to be covered. Using evo stick- a strong glue, i covered the foam very easily. Using a knife to cut the shape out for the back support.

Tea Set

This was the tea set i spied whilst prop searching in Rochester. After getting a second opinion i bought it. It actually has made in Czechoslovakia on the bottom. It was £15.99 and came with jug, tray, cups saucers, sugar bowl and plates

Adding foam and upholstery 2

Here I have carved out two 'tunnel' shapes to allow space for the wood supporting the back. I also cut out another smaller piece to finish off the top as the foam came in square pieces.


Adding foam and upholstery to Mrs Samsa chair

Here I took the seat foam first and cut two oblongs out of it to allow for the back support using a Stanley knife.

Final chair frame


This is what the chair looks like before the foam and material is applied. The only problem i had with this is that the legs where a little too short. The legs on the tech drawing did not allow for wheels which are normally on the bottom of a Victorian nursing chair. This was rectified quickly by adding an addtional piece of wood along side the original leg which is slightly longer in length. It was quicker to screw more wood to the existing legs rather than to take it all apart and start again. None of this will be seen in the final chair.